Mastering Timelapse Photography: A Comprehensive Guide to Make Timelapse from Photos
If you're interested in expressing the passage of time through stunning imagery, you've come to the right place. This article will delve into everything you need to know to make timelapse from photos, transforming regular photographs into mesmerizing visual stories that captivate your audience.
Understanding Timelapse Photography
Timelapse photography is a technique used to capture a sequence of events over a time period, which is significantly compressed when played back at high speed. This method reveals movement that is imperceptible to the naked eye, such as the blooming of a flower or the bustling activity of a cityscape.
How Timelapse Works
Timelapse photography involves taking a series of photographs at set intervals over a period of time and then compiling these images into a video. The key is to capture consistent, stable shots to create a seamless and smooth final product.
Key Tools for Timelapse Photography
To successfully make timelapse from photos, you'll need to gather some essential tools. Here’s a list of equipment and software that can enhance your timelapse projects:
- Camera: A DSLR or mirrorless camera is ideal, as they provide superior image quality and control over settings.
- Tripod: Stability is crucial in timelapse photography. A sturdy tripod will help maintain your camera's position throughout the shoot.
- Intervalometer: This device allows you to set the time intervals at which your camera will take photos automatically.
- Editing Software: Programs like Adobe Premiere Pro, Final Cut Pro, or specialized tools like LRTimelapse can help compile your photos and edit your final video seamlessly.
Steps to Make Timelapse from Photos
Now that you understand the basics and have your equipment ready, let's explore the exact steps to make a captivating timelapse video from your photos:
Step 1: Planning Your Shoot
Before you start shooting, consider what you want to capture. Timelapse photography can be applied in various settings:
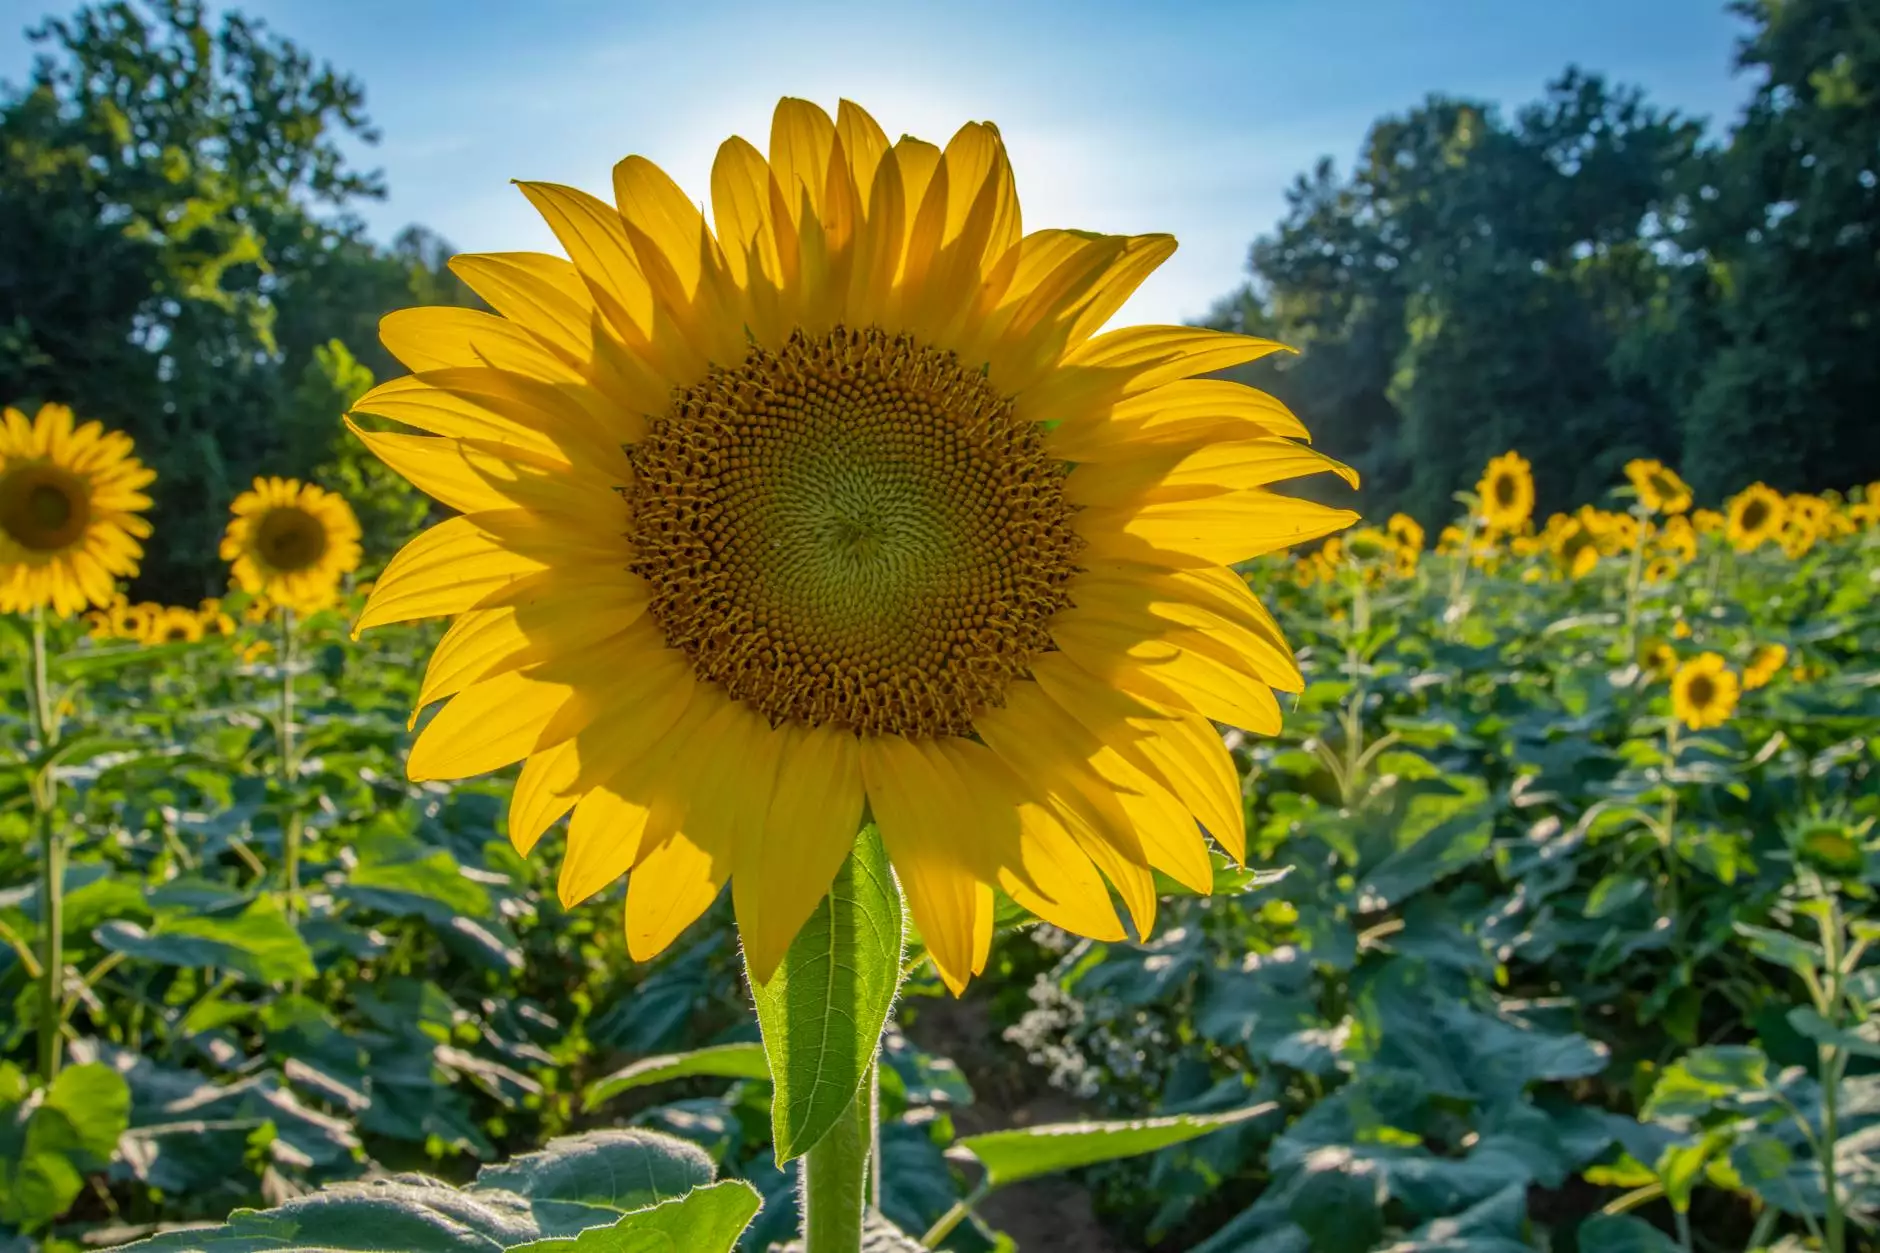
- Nature Scenes: Capturing sunsets, weather patterns, or blooming flowers.
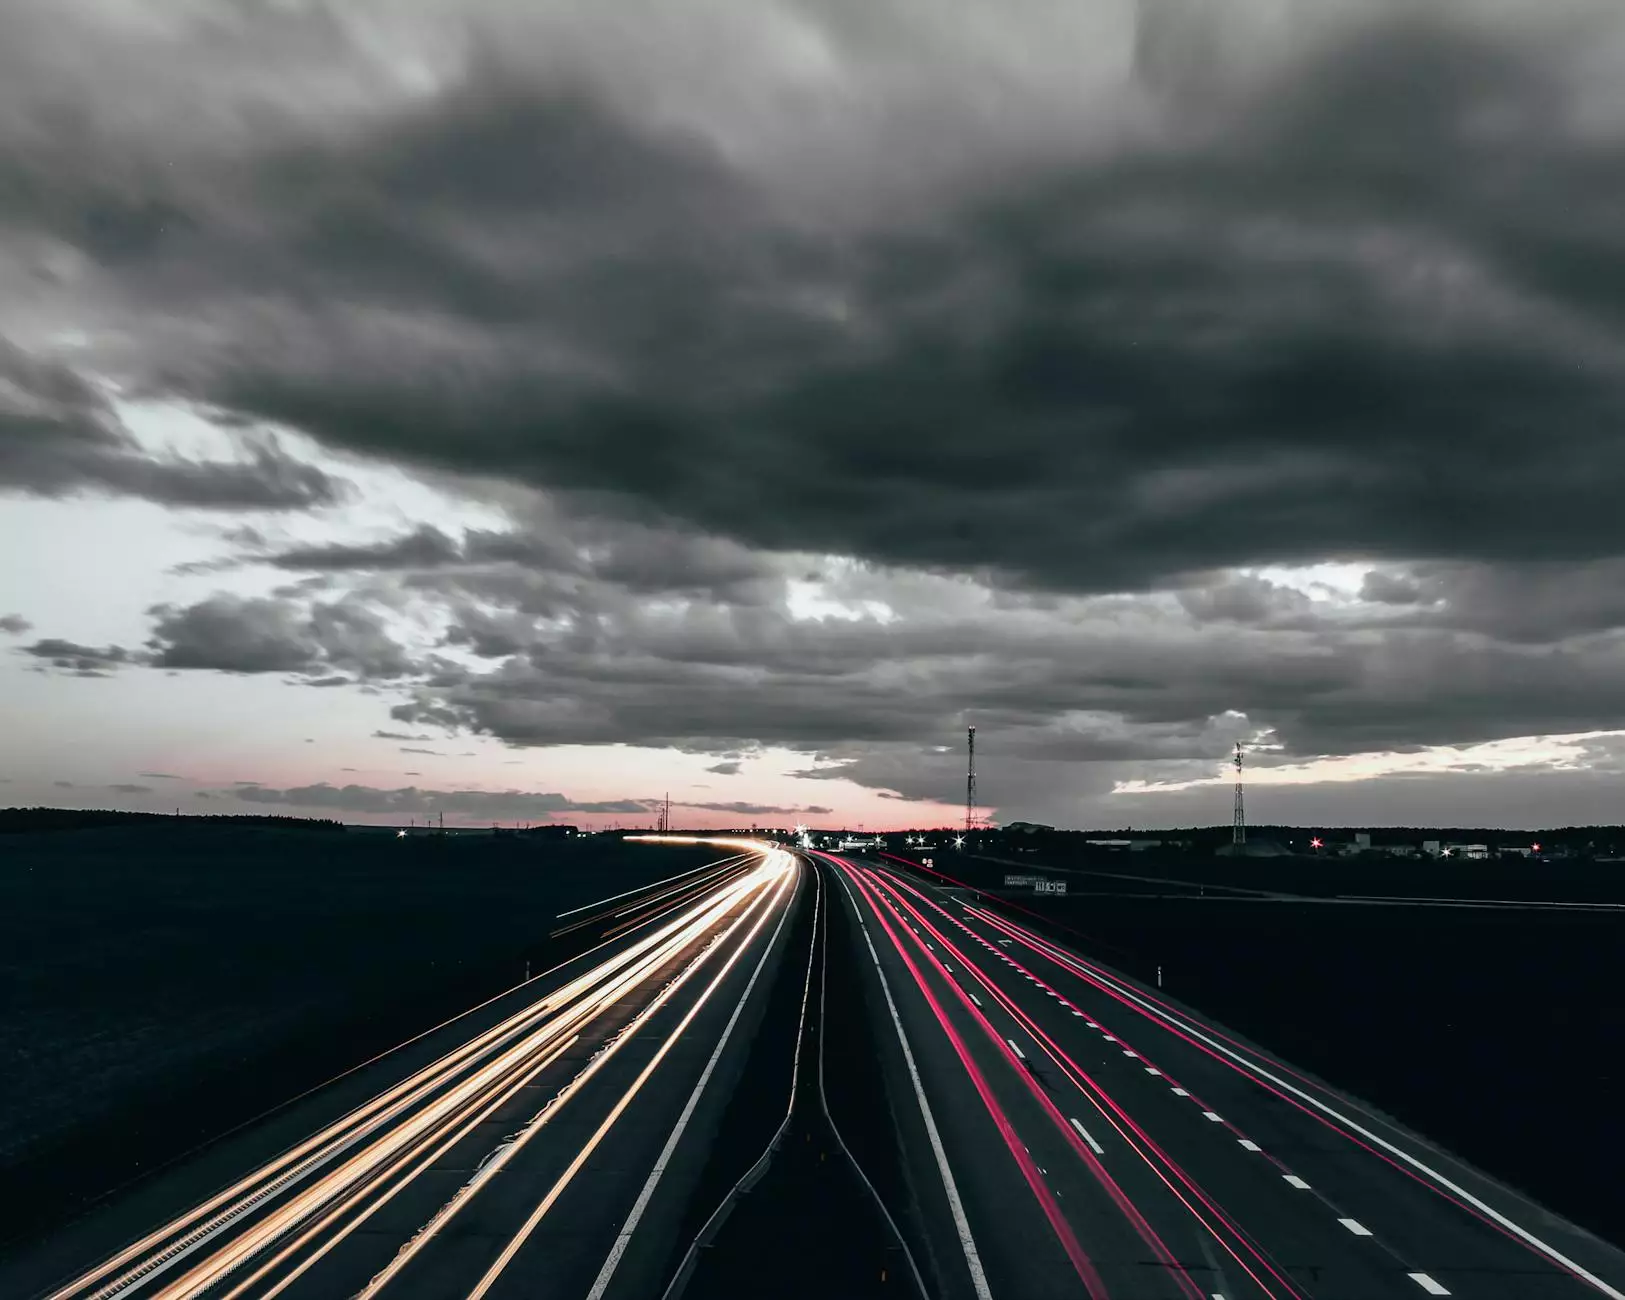
- Urban Landscapes: Recording busy intersections, sunrise over a skyline, or the movement of clouds over buildings.
- Construction Projects: Documenting the building process over weeks or months.
Choose a location with a clear focal point and minimal disturbances. Assess the lighting conditions at different times of the day to plan for varying light levels.
Step 2: Camera Settings
Proper camera settings are crucial for high-quality timelapse photography. Here’s what to adjust:
- Exposure: Use Manual Mode to control aperture, shutter speed, and ISO. A low ISO will reduce noise in your images, while a slightly higher aperture will give a deeper depth of field.
- White Balance: Set this manually to maintain color consistency across your frames. Avoid using auto white balance, as it can shift during your shoot.
- Focus: Manual focus ensures that your subject remains sharp. Autofocus may introduce unwanted shifts in focus over time.
Step 3: Shooting the Timelapse
With your planning and settings in place, it’s time to capture your images:
- Consistency is Key: Maintain the same composition throughout the shoot. Avoid moving the camera unless necessary.
- Interval Timing: Depending on the action you're capturing, adjust the interval between shots. Rapid movements may require shorter intervals, while slower changes can be captured with longer intervals.
- Duration: Plan how long you wish to shoot. A common practice is to shoot for several hours, which can be condensed into a few seconds of video.
Step 4: Compiling Your Images
Once you have your images, the next step is to compile them into a sequence:
- Import Your Photos: Use your editing software to import all captured images. Sort them in chronological order.
- Adjust Frame Rate: Set your desired frame rate for the video. Common options are 24 or 30 frames per second, which provides smooth playback.
- Add Music and Effects: Consider adding background music or audio effects to enhance the overall experience of your timelapse.
Step 5: Exporting the Final Video
Once you’re satisfied with your edits, it’s time to export your final timelapse video:
- Select the Right Format: Choose formats that suit your intended use, such as .MP4 for sharing online.
- Quality Settings: Adjust the resolution and bitrate to ensure the best quality while maintaining a manageable file size.
- Review and Save: Watch your video for any last-minute adjustments before saving.
Tips and Tricks for Stunning Timelapse Videos
Here are some expert tips to take your timelapse photography to the next level:
- Experiment with Movement: Consider adding subtle camera movements, like panning, to create a dynamic effect.
- Use ND Filters: Neutral density filters can help control exposure, allowing for longer shutter speeds and a smoother motion blur effect.
- Be Patient: Timelapse photography often requires time and patience. Prepare for long shooting sessions and be ready to adapt to changing conditions.
Real Estate Photography & Timelapse
In the realm of real estate photography, timelapse can be especially powerful. By capturing the transformation of a property or the hustle and bustle around a neighborhood throughout the day, you can showcase its vibrancy and allure. Here’s how to effectively use timelapse in real estate photography:
- Showcase Sunsets: A timelapse of a sunset over a property can attract potential buyers, highlighting the beauty of the location.
- Document Renovations: Capture the entire process of renovations, giving potential buyers insight into the quality and effort put into the property.
- Highlight Neighborhood Activity: Timelapse can demonstrate the lifestyle of a neighborhood, showcasing parks, cafes, and other attractions over a specific period.
Final Thoughts
Creating a captivating timelapse video allows you to share moments that encapsulate the essence of time. With the right tools, planning, and knowledge, anyone can make timelapse from photos. Whether you’re a hobbyist or a professional photographer seeking to elevate your portfolio, mastering this technique can open a world of creative possibilities.
Visit bonomotion.com to explore more resources and services in photography, especially tailored for those looking to enhance their skills in real estate and other photography domains.